To properly display this page you need a browser with JavaScript support.
Building Plans Tab This is where the User can view and capture Building Plan information on the MVS.
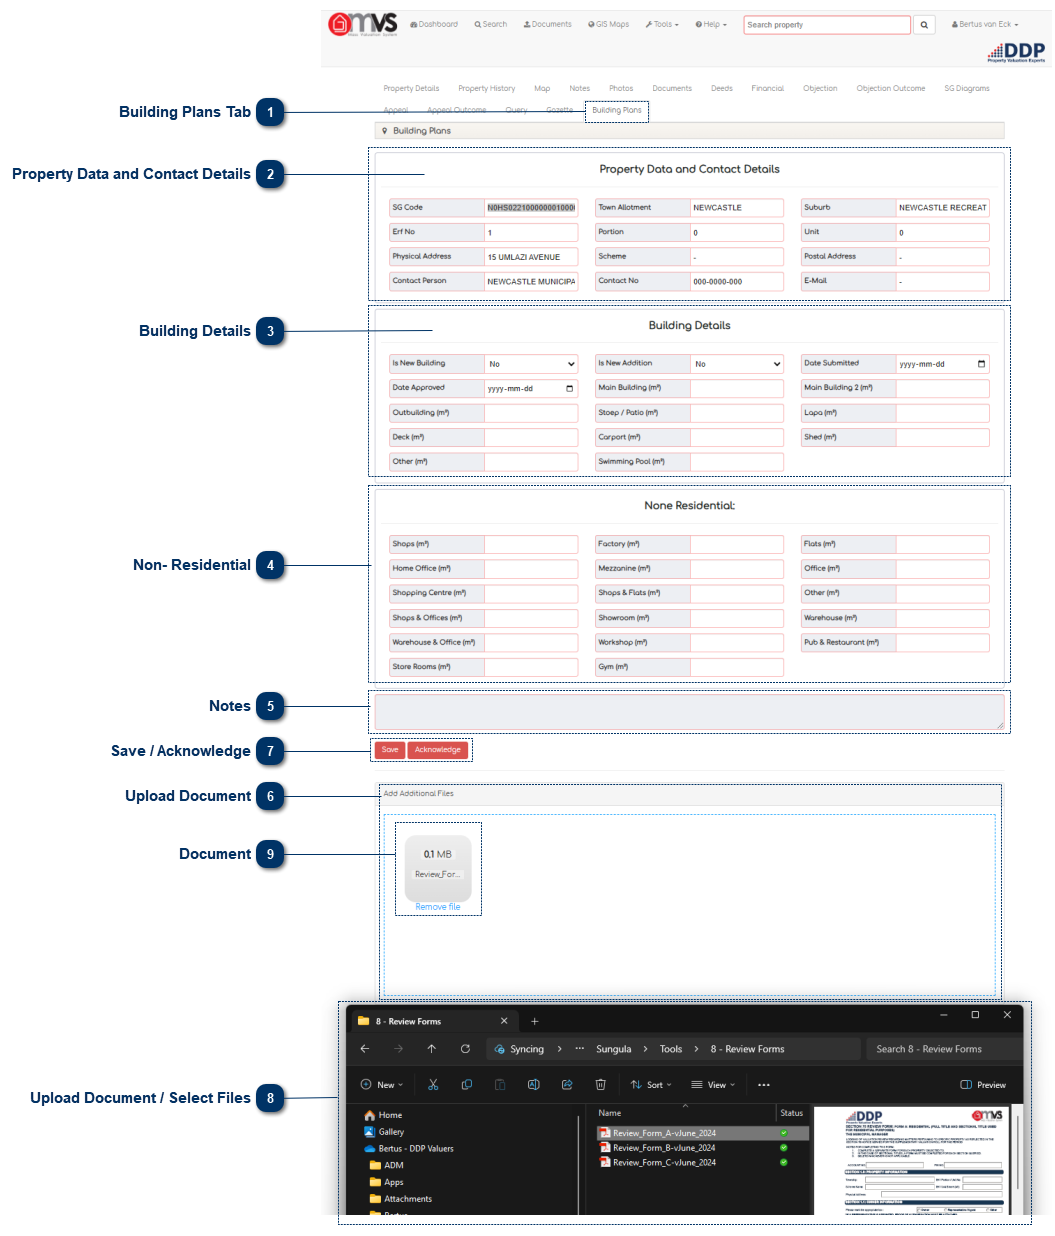
Property Data and Contact Details This is where the User captures property details such as:
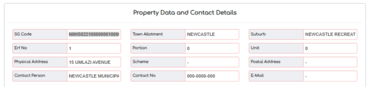
Building Details This is where the User captures building plan details such as:
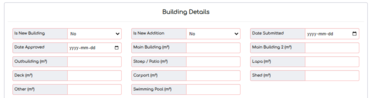
Non- Residential As well as non-residential building size details such as:
Notes This is where the User can enter their notes on the building plans.
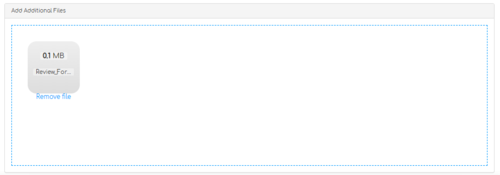
Upload Document Users can just drag and drop to upload the scanned building plans for the Valuer.
Save / Acknowledge When the User is finished capturing the building plan information, they may click "Save" and "Close". The query will then be sent to the Valuer and will appear in his/her task box on the MVS dashboard.
The Valuer can Acknowledge the Building Plans as soon as the Section 78 Valuation is complete and it will be removed from the Dashboard.
Upload Document / Select Files Open the location of the files that you want to upload in your file explorer.
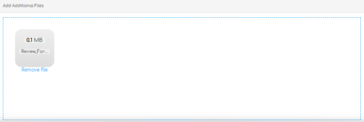
Document Simply drag and drop the file in the blue block where it indicates "Drop files here to upload".
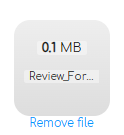
If it is the incorrect file just click on "Remove file" under the photo and select the correct file for upload.
The file will display as soon as it is uploaded and will be available in the Library.
When you refresh or go back to documents on that property the document will display in the Library.